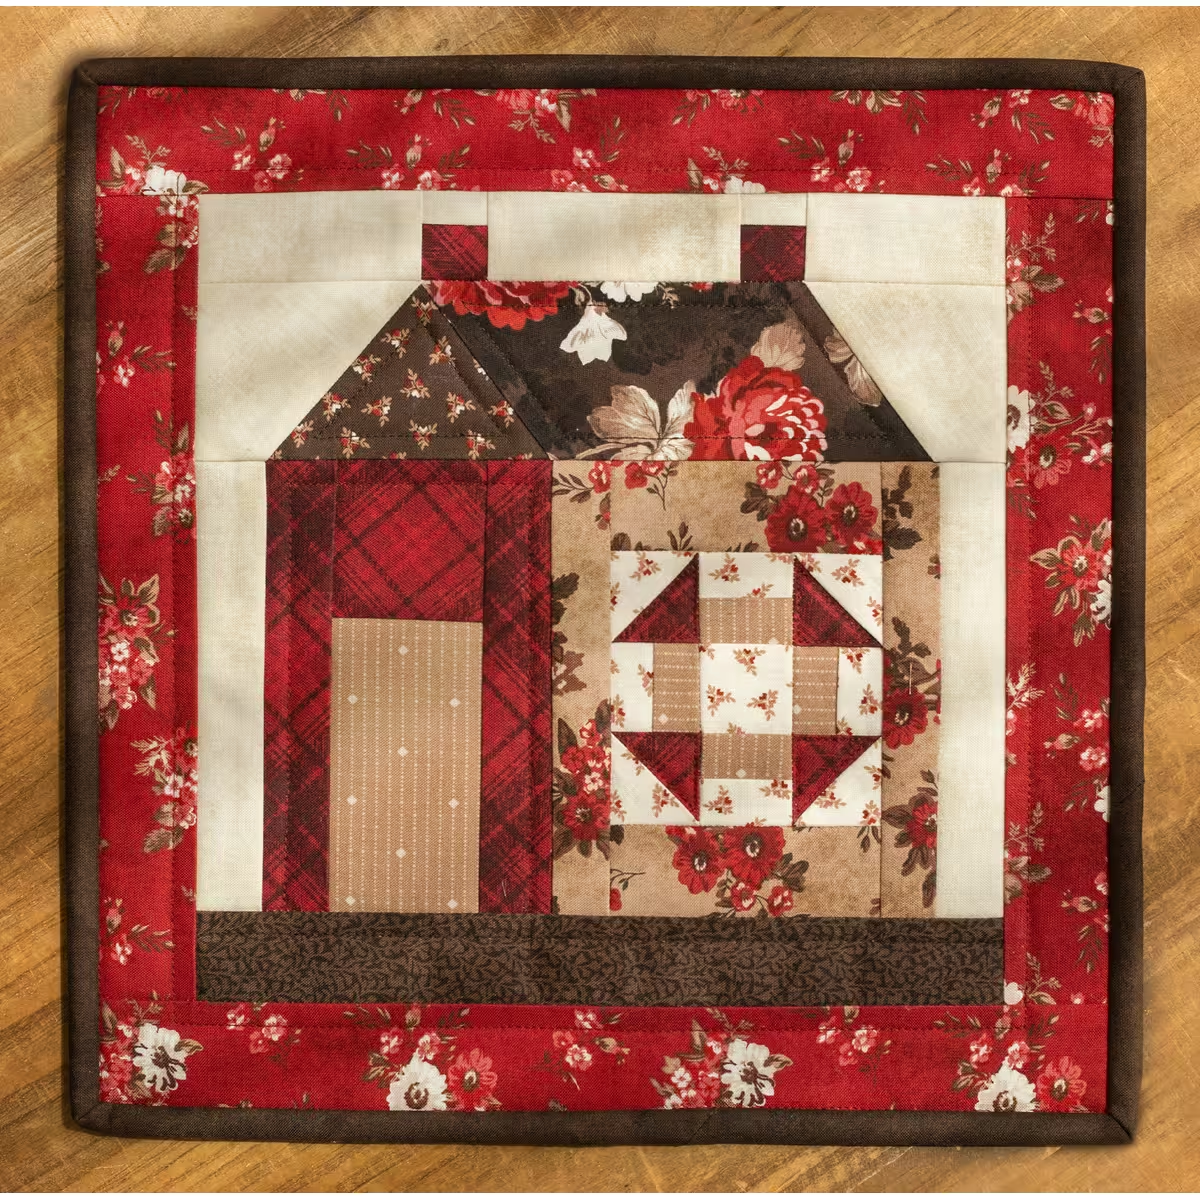
If you are a quilting enthusiast looking to elevate your craft, the Foundation Paper Piecing Kit – September – Tutorial is the ultimate guide you need this season. Foundation paper piecing (FPP) is a beloved technique that allows creators to achieve razor-sharp points, intricate geometric designs, and flawless blocks that would be nearly impossible with traditional piecing methods. This comprehensive walkthrough is specifically tailored to help you navigate your autumn-themed project with ease, confidence, and absolute precision.
Whether you are a seasoned quilter looking to refine your technique or a curious beginner stepping into the world of paper templates, this Foundation Paper Piecing Kit – September – Tutorial offers a step-by-step approach to mastering the craft. September brings a beautiful shift in color palettes and design inspiration, making it the perfect time to sit down at your sewing machine with a curated project. By using structured paper foundations, you can eliminate the stress of fabric stretching and inaccurate seam allowances, ensuring that every single block you produce is a true work of art.
In this detailed Foundation Paper Piecing Kit – September – Tutorial, we will dive deep into everything you need to know to achieve professional-grade results. From understanding how to prepare your specialized templates to executing the perfect stitch-and-flip sequence, this guide is packed with expert SEO-optimized quilting tips and humanized, easy-to-follow instructions. Grab your favorite autumn fabric bundles, dust off your sewing machine, and let us explore the wonderful, rewarding world of precision paper piecing together.
1. Essential Tools for Your September Foundation Paper Piecing Project
To get the most out of your Foundation Paper Piecing Kit – September – Tutorial, having the right tools on your sewing table is half the battle won. Standard quilting tools work well, but FPP requires a few specialized notions that make the process significantly faster and more enjoyable. Investing in these items will prevent frustration and guarantee crisp, clean lines on your autumn block.
First and foremost, you will need high-quality foundation paper that is sturdy enough to hold stitches but easy to tear away once your block is complete. Many modern quilters prefer lightweight vellum, newsprint, or specially formulated wash-away foundations. Choosing the right paper prevents puckering and ensures your sewing machine needle moves smoothly through the layers.
Next, an Add-A-Quarter ruler is an absolute game-changer for this technique. This specialized ruler features a lip that automatically catches on your folded paper foundation, allowing you to trim a perfect quarter-inch seam allowance every single time. Using this tool eliminates guesswork and keeps your block flat and manageable.
A sharp, reliable rotary cutter and a small cutting mat placed right next to your sewing machine will save you hours of movement. Because FPP requires frequent trimming after every single seam, having a compact cutting station directly at your elbow streamlines your workflow. Pair this with a high-quality 28mm or 45mm blade for clean fabric slices.
Your choice of quilting thread also plays a massive role in the success of your project. Opt for a strong, thin 50wt or 60wt cotton or polyester thread, which reduces bulk within the seams. Since you will be sewing through both paper and multiple layers of fabric, thin thread ensures your blocks lie perfectly flat when pressed.
Lastly, a small wooden seam roller or a reliable steam iron is crucial for setting your seams. While a hot iron provides the crispest results, a handy seam roller allows you to press open your fabric pieces without constantly standing up to use the iron. This keeps your momentum going as you progress through the pattern.
2. Step by Step Guide to Fabric Placement and Sewing
Now that your workstation is set up, it is time to dive into the core mechanics of our Foundation Paper Piecing Kit – September – Tutorial. The most important thing to remember about FPP is that you are sewing on the printed side of the paper, but your fabric is being placed on the unprinted back side. This mirror-image concept can feel a bit upside-down at first, but it quickly becomes second nature.
Start by rough-cutting your fabric pieces so they are at least one inch larger than the section they are meant to cover. For the very first section, labeled A1 on your pattern, place the fabric right side facing up on the unprinted side of the paper. Hold the paper up to a bright window or a light box to ensure the fabric completely covers the zone plus ample seam allowances.
Once section A1 is securely pinned or glued in place with a temporary fabric water-soluble glue stick, it is time to position the piece for section A2. Place the A2 fabric right sides together against the A1 fabric. Flip the paper template over to the printed side, as this is where you will actually guide your sewing machine needle.
Before dropping your presser foot, adjust your sewing machine stitch length down to a short 1.5mm to 1.8mm setting. This tight stitch serves two vital purposes: it securely locks the fabric pieces together, and it perforates the paper template like a coupon, making it incredibly easy to tear away later without pulling out your stitches.
Sew directly along the printed line separating section A1 and A2, starting a few stitches before the line begins and extending a few stitches past where it ends. Flip the template back over, fold the paper along the seam line you just stitched, and use your Add-A-Quarter ruler to trim away the excess fabric to a clean quarter-inch.
Flip the fabric piece for section A2 open so that its right side is now facing out, covering its designated zone completely. Press this seam firmly using your iron or seam roller. Repeat this exact sequence for all subsequent sections of the pattern, always following the numerical order provided in the kit.
3. Best Tips for Flawless Matching and Perfect Points
Achieving razor-sharp points is the main reason quilters fall in love with this method, and this Foundation Paper Piecing Kit – September – Tutorial highlights the best industry secrets to guarantee perfection. When joining multiple paper-pieced units together, matching your intersection points precisely is what separates an amateur quilt from a showstopper.
The first secret weapon for perfect matching is flower head pins or thin, long quilting pins. Instead of pinning horizontally, insert a pin vertically directly through the intersection point on the printed side of one paper unit, and push it straight through the corresponding intersection point on the second unit. This acts as a perfect alignment hinge.
While keeping that alignment pin perfectly straight, use secondary pins to secure the paper units flat against each other. This prevents the fabric layers from shifting or walking as they pass under your presser foot. Take your time during this step, as precision preparation yields flawless results.
Another brilliant trick preferred by expert quilters is basting the intersections before committing to a permanent seam. Set your machine to a long basting stitch and sew a few stitches right across the critical matching points. Check your alignment on the right side of the fabric; if it looks perfect, switch back to a tight stitch and sew the full seam.
Always pay close attention to the pressing direction of your final seams. To reduce bulk when assembling your September quilt blocks, gently press your seams open or alternate the directions so they nestle together perfectly. Managing bulk keeps your quilt top uniform and makes the final longarm quilting process incredibly smooth.
If you happen to miss a point by a millimeter, do not be discouraged or afraid to use your seam ripper. Because your stitch length is highly compact, removing stitches requires patience, but perfection is worth the extra effort. Simply rip out the misaligned section, re-align using your vertical pins, and try again.
4. How to Safely Remove Paper and Assemble the Quilt Top
The final phase of our Foundation Paper Piecing Kit – September – Tutorial involves transforming your individual paper-backed sections into a cohesive, breathable fabric quilt top. Before you begin tearing away the templates, it is highly recommended to sew all your individual blocks together into rows or the final layout. The paper provides structural stability that keeps your edges from stretching out of shape.
Once your quilt top is fully assembled, find a comfortable spot to sit down and begin the satisfying process of removing the paper templates. Thanks to the short, tight stitch length used during the construction process, the paper should easily pull away along the perforated lines like a sheet of notebook paper.
To make the removal process even easier, start from the outside edges of the block and work your way inward toward the center. Use one hand to stabilize the fabric stitches and the other hand to gently pull the paper away at an angle. This technique prevents putting unnecessary stress on your delicate bias seams.
If you encounter stubborn bits of paper trapped tightly inside small geometric intersections, a pair of fine-tipped tweezers can be incredibly helpful. Alternatively, lightly dampening the paper lines with a slightly moist cotton swab will soften the fibers, allowing the paper to release instantly without damaging your cotton threads.
Discard the paper scraps responsibly, and give your newly liberated fabric quilt top one final, thorough press with a hot, dry iron. You will immediately notice how light, flexible, and perfectly flat the project becomes once the rigid paper backing is completely removed from the equation.
With your beautiful September quilt top now complete, you are ready to layer it with your favorite batting and backing fabric. Whether you choose to quilt it yourself with free-motion designs or send it off to a professional longarm quilter, your perfectly pieced geometric blocks are bound to draw admiration.
Frequently Asked Questions (FAQ)
What type of paper is best for Foundation Paper Piecing?
The best paper for FPP is lightweight, thin, and easy to tear. Specialized newsprint for quilting, lightweight vellum, or water-soluble foundation papers are ideal. Avoid standard heavy printer paper, as it can be difficult to remove and may strain your sewing machine stitches.
Why do I need to shorten my machine’s stitch length?
Shortening your stitch length to around 1.5mm to 1.8mm creates tight, secure seams and heavily perforates the paper foundation. This makes the paper incredibly easy to tear away at the end of the project without pulling or loosening your beautiful fabric stitches.
Can I reuse the paper templates from my September kit?
Standard paper templates are destroyed during the removal process because you sew directly through them. However, you can always make photocopies or scan the original master template from your Foundation Paper Piecing Kit – September – Tutorial before you begin sewing to create endless duplicates for future projects.
How do I stop my fabric from shifting while sewing?
Using a tiny dab of water-soluble fabric glue stick in the center of your very first fabric piece (Section 1) secures it to the paper beautifully. For subsequent pieces, using thin, flat quilting pins outside of the actual seam line will keep your fabric locked in place perfectly.
My block turned out as a mirror image of the pattern, what happened?
This is a very common beginner mistake! Remember that in foundation paper piecing, you sew directly on the printed lines, but your fabric lives on the blank backside of the paper. Because of this, your final fabric block will always be a mirror image of the printed template side.
Conclusion
Mastering the steps outlined in this Foundation Paper Piecing Kit – September – Tutorial opens up a world of endless creative possibilities for your quilting journey. We have explored the essential specialized tools required for success, walked through the precise stitch-and-flip fabric sequence, uncovered industry secrets for achieving sharp points, and detailed how to cleanly remove your paper foundations to reveal a flawless quilt top.
FPP removes the guesswork from complex geometry, giving you the confidence to tackle intricate designs with absolute ease.