Creating a Crochet Cross Keychain – Tutorial is one of the most rewarding quick projects you can undertake, whether you are a seasoned crafter or a complete beginner. These tiny, symbolic accessories serve as beautiful handmade gifts, thoughtful party favors, or even a comforting charm to keep on your own set of keys. In this comprehensive guide, we will dive deep into the art of micro-crochet to help you master this specific pattern while ensuring your finished product looks professional and stays durable for daily use.
When you follow this Crochet Cross Keychain – Tutorial, you are not just making a decorative item; you are engaging in a mindful practice that combines geometry with creativity. The beauty of the Crochet Cross Keychain lies in its versatility, as you can easily swap yarn colors or add decorative beads to match any aesthetic. Because it requires very little material, it is the perfect “scrap-buster” project for those leftover bits of cotton yarn or embroidery floss you have lying around your craft room.
To ensure your success, this Crochet Cross Keychain – Tutorial is structured to guide you through the selection of materials, the foundational stitches, and the final assembly process. We will focus on high-quality crochet techniques such as the magic ring, tight tension control, and invisible joins. By the end of this article, you will have all the knowledge necessary to produce a stunning handmade crochet cross that stands the test of time and brings a touch of handmade elegance to your everyday life.
1 Understanding the Crochet Cross Keychain – Tutorial Essentials
Before you pick up your hook, it is vital to understand that the Crochet Cross Keychain – Tutorial is designed to prioritize structure. Since a keychain undergoes a lot of friction in a pocket or bag, using a mercerized cotton yarn is highly recommended because it doesn’t pill and maintains its shape. A smaller crochet hook size, such as a 2.0mm or 2.5mm, ensures that your stitches are dense enough so the stuffing (if used) doesn’t show through.
The core of this Crochet Cross Keychain – Tutorial relies on mastering the single crochet (sc) and slip stitch (sl st). These basic movements create the rigid fabric needed for the horizontal and vertical bars of the cross. If you are new to the craft, don’t worry; the repetitive nature of these stitches makes it an excellent way to practice stitch consistency and tension management.
One unique aspect of the Crochet Cross Keychain is the construction method. Some patterns use a “two-piece” method where you sew bars together, while others are “one-piece” worked in rounds. This Crochet Cross Keychain – Tutorial focuses on a seamless approach to minimize weaving in ends, which is often the least favorite part for many crochet enthusiasts.
Proper lighting and ergonomic tools are also part of a successful Crochet Cross Keychain – Tutorial experience. Working with smaller yarn can strain the eyes, so ensure you have a bright workspace. Using an ergonomic crochet hook will also prevent hand fatigue, allowing you to whip up a dozen of these religious crochet gifts in a single afternoon without discomfort.
The Crochet Cross Keychain also serves as a fantastic introduction to amigurumi-style crochet. Even though it is a flat or semi-flat object, the principles of working in continuous spirals or joined rounds apply here. Understanding how to read a crochet pattern specifically for small accessories will boost your confidence for more complex future projects.
Lastly, remember that the Crochet Cross Keychain – Tutorial is a canvas for your personality. While the traditional white or cream colors are popular for baptism favors or Easter gifts, don’t be afraid to use variegated yarns or even metallic threads. The goal is to create a personalized crochet accessory that resonates with the person who will eventually carry it.
2 Step-by-Step Guide for the Crochet Cross Keychain – Tutorial
The first physical step in our Crochet Cross Keychain – Tutorial is creating the foundation, usually starting with a chain stitch (ch) or a magic circle. For a standard cross, you will start by working the long vertical bar. You’ll want to count your stitches carefully, as symmetry is the most important visual factor in a Crochet Cross Keychain to ensure it looks balanced.
Once the length of the vertical bar is established in this Crochet Cross Keychain – Tutorial, you will move on to the horizontal arms. This is where most beginners get confused, but the trick is to use foundation stitches or to join yarn at a specific point on the main body. Keeping your stitch count accurate during this phase ensures the “arms” of the cross are perfectly aligned.
As you progress through the Crochet Cross Keychain – Tutorial, focus on the corners. When turning or moving between the bars of the cross, using a chain one (ch 1) or a slip stitch helps maintain sharp, defined angles. This prevents the crochet cross from looking like a rounded blob and gives it that iconic, crisp architectural silhouette.
Integrating the hardware is a crucial phase of the Crochet Cross Keychain – Tutorial. You can either crochet over the metal ring directly or attach it later using a jump ring. I personally recommend crocheting a small loop of chain stitches at the top of the cross, which provides a secure “fabric eyelet” to hook your keychain hardware into later.
During this part of the Crochet Cross Keychain – Tutorial, consider the “wrong side” and “right side” of your work. Always keep the “right side” facing out for a polished look. If you notice your stitches are leaning too much to one side, you might be wrapping your yarn (yarn over vs yarn under) inconsistently; try to stay uniform throughout the crochet process.
To finish the shaping in this Crochet Cross Keychain – Tutorial, you will likely use an invisible finish. Instead of a standard knot, pull the yarn through the last loop and use a tapestry needle to mimic the top of a stitch. This makes the start and end points of your Crochet Cross Keychain virtually undetectable to the naked eye.
3 Finishing Techniques for a Professional Crochet Cross Keychain
No Crochet Cross Keychain – Tutorial is complete without discussing the importance of blocking. Since crochet fabric can naturally twist, pinning your cross to a foam board and lightly steaming it (or misting with water) will set the shape permanently. This “pro-tip” transforms a homemade-looking item into a high-end boutique-quality keychain.
Another vital aspect of the Crochet Cross Keychain – Tutorial is securing your yarn tails. Because a keychain is handled constantly, a simple knot isn’t enough. Use a needle threading technique to weave the ends through the center of the stitches for at least two inches, changing directions to lock the thread in place so the Crochet Cross Keychain never unravels.
For those who want a bit more “pop” in their Crochet Cross Keychain – Tutorial, consider adding a stiffening agent. You can use a mix of water and white glue or a commercial fabric stiffener. This prevents the cross from bending or folding while it hangs from a bag, ensuring the crochet stitches remain showcased in their full glory.
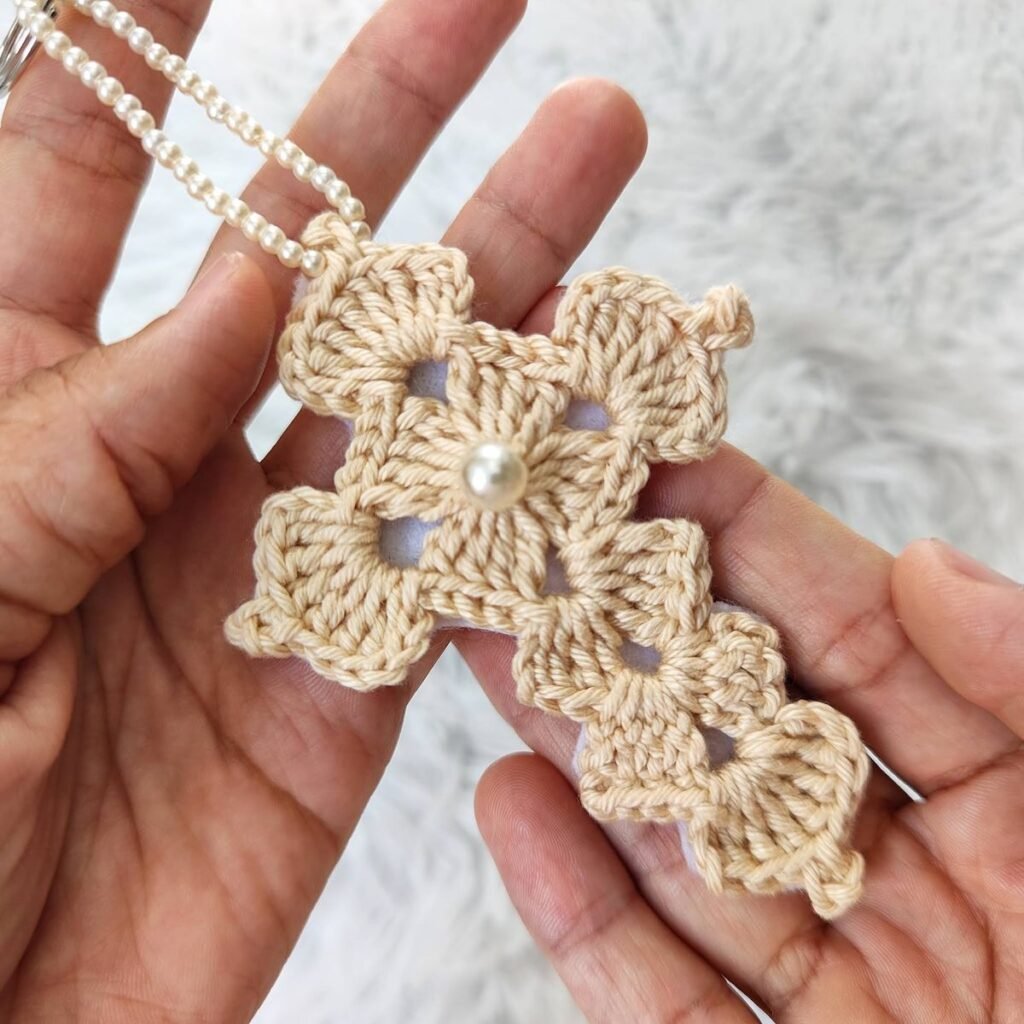
In this stage of the Crochet Cross Keychain – Tutorial, you might also add embellishments. A single pearl bead in the center or a small tassel hanging from the bottom can elevate the design. These small details are what make your Crochet Cross Keychain stand out in a marketplace like Etsy or at a local craft fair.
Let’s talk about the hardware quality in our Crochet Cross Keychain – Tutorial. Using stainless steel or nickel-plated split rings ensures that the metal won’t rust or tarnish over time. Pairing high-quality metal with your handmade crochet work increases the perceived value of the item and ensures the user doesn’t lose their keys.
Finally, the Crochet Cross Keychain – Tutorial encourages you to inspect your work for any loose loops. If you find a snag, use your hook to gently pull the excess yarn back into the surrounding stitches. A clean, tight finish is the hallmark of a master crocheter, and it ensures your Crochet Cross Keychain is as durable as it is beautiful.
4 Scaling and Selling Your Crochet Cross Keychain Projects
Once you have mastered the Crochet Cross Keychain – Tutorial, you might consider making them in bulk. These are incredibly cost-effective; one ball of yarn can often yield 20 or more units. For those looking to start a small crochet business, the Crochet Cross Keychain is a high-margin item because of the low material cost and relatively fast production time.
Marketing your finished Crochet Cross Keychain requires good photography. Use natural light to highlight the texture of the crochet stitches. In your product descriptions, emphasize that you followed a specialized Crochet Cross Keychain – Tutorial to ensure durability and quality, which helps build trust with potential buyers who value handmade craftsmanship.
In this part of the Crochet Cross Keychain – Tutorial overview, we should discuss packaging. Placing your crochet keychain on a simple cardstock backing with your logo makes it look professional. You can even include a small note about the care instructions, such as “hand wash only,” to help the customer maintain their crochet accessory.
Seasonal variations of the Crochet Cross Keychain – Tutorial are a great way to keep your inventory fresh. Think pastel colors for Easter crochet, white and gold for First Communion, or even festive reds and greens for Christmas ornaments. The versatility of the cross pattern makes it a year-round staple for any fiber artist.
Collaboration is another avenue explored after completing the Crochet Cross Keychain – Tutorial. Reach out to local churches or religious gift shops to see if they would carry your hand-crocheted crosses. Because these items are small, they don’t take up much shelf space, making them an easy “yes” for many local retailers and boutique owners.
Lastly, keep learning and evolving your Crochet Cross Keychain – Tutorial skills. Try different textures like velvet yarn for a soft feel or nylon cord for an ultra-durable, rugged version. The more you experiment with the Crochet Cross Keychain design, the more you will develop a signature style that is uniquely yours in the world of modern crochet.
FAQ – Frequently Asked Questions
1. What is the best yarn for a Crochet Cross Keychain – Tutorial?
The best choice is a 100% mercerized cotton yarn (size 3 or 10 thread). It provides excellent stitch definition, does not stretch much, and is very resistant to the wear and tear that keychains typically endure.
2. How long does it take to complete one Crochet Cross Keychain?
For an intermediate crocheter following this Crochet Cross Keychain – Tutorial, it usually takes between 15 to 30 minutes. Beginners might take about an hour for their first attempt while they get used to the small scale.
3. Can I wash my Crochet Cross Keychain?
Yes! If you used cotton yarn, you can gently hand wash it with mild soap and air dry. If you used a fabric stiffener, you may need to reapply it after the item is dry to regain its rigidity.
4. What size hook should I use for a Crochet Cross Keychain – Tutorial?
I recommend a 2.0mm or 2.25mm (B) hook. The goal is to create tight stitches so the cross doesn’t become floppy. If your tension is naturally loose, drop down a hook size.
5. Is this project suitable for absolute beginners?
Absolutely. As long as you know the basic crochet stitches like the chain and single crochet, this Crochet Cross Keychain – Tutorial is a perfect way to practice working in a specific shape without the commitment of a large project like a blanket.
6. Do I need to stuff the Crochet Cross Keychain?
Most patterns for this Crochet Cross Keychain – Tutorial are flat, but you can make two identical crosses and crochet them together with a tiny bit of fiberfill in the middle for a 3D effect.
Conclusion
In this Crochet Cross Keychain – Tutorial, we have covered everything from the initial material selection to the advanced finishing techniques that ensure a professional result. We learned that using high-quality cotton, maintaining tight tension, and properly blocking your work are the secrets to a beautiful handmade keychain.
This project is more than just a craft; it is a way to create meaningful, durable, and stylish accessories that people will cherish. Whether you are making these for yourself, as gifts, or to sell in your shop, the Crochet Cross Keychain remains a timeless classic in the world of fiber arts.