Learning how to make bucket hat – tutorial styles at home is one of the most rewarding and stylish DIY projects you can take on this year. The classic bucket hat has made a massive comeback in contemporary street fashion, shifting from a simple sun protection accessory to a staple piece in modern wardrobes. Whether you are an experienced sewist looking for a quick, satisfying weekend craft or a complete beginner eager to learn a new skill, this comprehensive guide will walk you through every single step of the process. Crafting your own headwear allows you to control the fit, choose sustainable materials, and express your unique personality through custom fabric choices.
When you dive into this specific how to make bucket hat – tutorial guide, you are unlocking a world of endless creative possibilities. Buying mass-produced accessories often means settling for generic designs, low-quality construction, and poor fits that slide down your eyes or pinch your forehead. By taking matters into your own hands, you can select durable textiles like upcycled denim, sturdy canvas, or breathable cotton linen that match your personal aesthetic perfectly. Plus, making your own clothing is a fantastic way to practice mindful consumption, reduce textile waste, and build a handmade wardrobe you can truly carry with pride.
In this detailed blueprint, we will cover everything from selecting the right fabric grain to assembling the crown, side walls, and brim into a flawless structured piece. You do not need an advanced, expensive machine or high-tech equipment to follow along; a standard sewing setup and a bit of patience are all it takes to achieve a professional-looking result. Prepare your workspace, gather your tools, and let us explore the step-by-step techniques required to bring your custom fashion vision to life. By the end of this journey, you will possess the practical knowledge and confidence to replicate this project in various colors, patterns, and textiles for family, friends, or your own collection.
1. Choosing the Best Fabrics and Tools for Your Bucket Hat Project
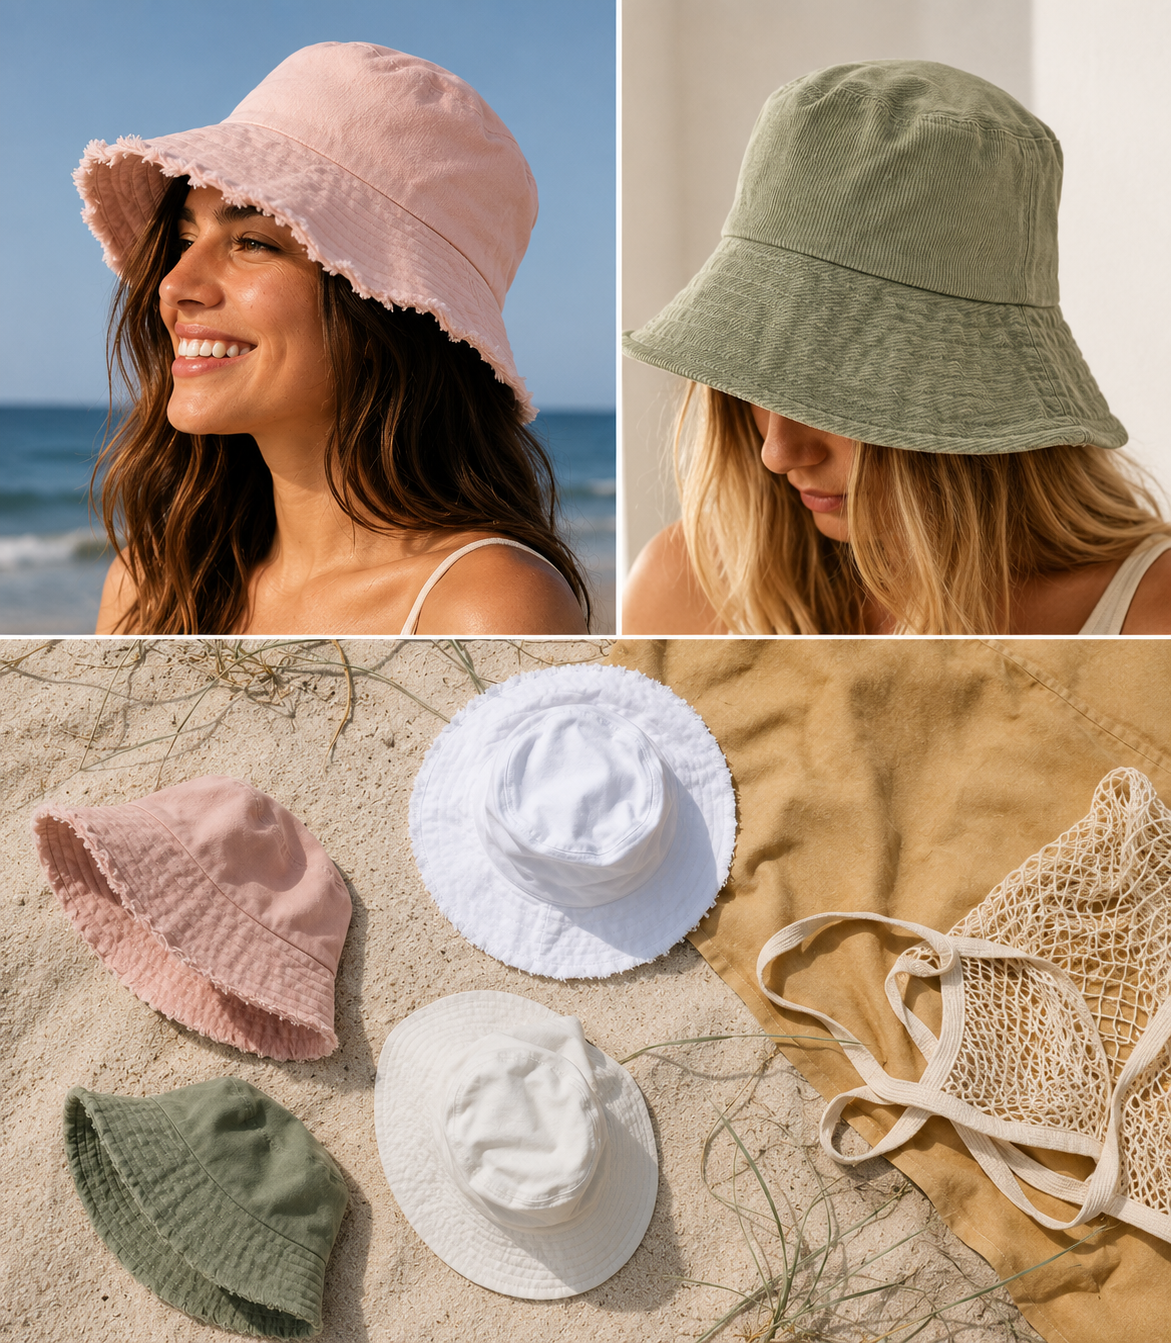
Selecting the right materials is the absolute foundation of a successful fashion accessory project. For a structured look that retains its iconic shape, you should opt for medium to heavy-weight woven fabrics like sturdy cotton canvas, denim, corduroy, or duck cloth. If you prefer a softer, more casual vibe, lighter cottons work beautifully as long as you fuse them with a high-quality interfacing material.
The choice of lining fabric is equally important for comfort and interior neatness. A lightweight cotton poplin, breathable linen, or smooth satin lining ensures that the headwear feels comfortable against your skin and does not cause static or irritation. Matching your exterior and interior fabric weights ensures the seams lay flat and the overall structure remains balanced throughout daily wear.
Beyond the main textiles, you will need a reliable iron-on fusible interfacing to give the brim its characteristic stiffness. Without proper interfacing, the brim will droop heavily, losing the classic architectural silhouette that defines this timeless streetwear look. A medium-weight woven or non-woven fusible interfacing applied to the brim pieces will make all the difference in your final aesthetic.
Gathering the correct sewing notions before you begin will save you time and prevent unnecessary frustration. You will need sharp fabric shears, a rotary cutter with a cutting mat for precise curved edges, high-quality polyester thread, and a pack of sturdy sewing machine needles. A size 80/12 needle works perfectly for standard cotton, while a 90/14 or 100/16 denim needle is required for thicker layered fabrics.
Do not overlook the power of simple marking tools like tailor’s chalk, water-soluble fabric pens, and plenty of sewing clips or fine pins. Because this specific pattern relies heavily on matching curved lines, precise marking and clipping are crucial for avoiding puckers and fabric shifting. A clear acrylic ruler and a flexible measuring tape will also help you double-check your custom measurements before making a single cut.
Finally, keep a hot iron and an ironing board nearby throughout the entire creation process. Pressing each seam immediately after sewing is the secret ingredient that elevates an amateur DIY project into a professional-grade garment. Ironing flattens the stitches, sets the shape, and allows the fabric layers to blend seamlessly, making the final assembly steps significantly easier to manage.
2. Preparing the Pattern and Cutting Your Fabric Pieces Accurately
Before cutting into your beautiful fabric, you need a precise template that matches your specific head circumference. Measure around the widest part of your head, just above your ears and eyebrows, keeping the tape measure snug but comfortable. Use this measurement to select or draft your pattern pieces, which consist of three main components: the top crown circle, the side wall band, and the flared brim.
Once your template is ready, lay your ironed fabric flat on your cutting table, paying close attention to the fabric grainline. Woven fabrics have a natural grain that affects how the material stretches and drapes over three-dimensional shapes. Aligning your pattern pieces correctly with the straight grain ensures that your finished headwear does not twist, warp, or look distorted after washing.
Carefully pin your pattern templates to the fabric, or use heavy pattern weights to hold the paper securely in place. Cut out one top circle piece from your exterior fabric and one from your lining fabric to form the top structure. Next, cut two side wall pieces from the exterior fabric and two from the lining, ensuring you transfer all alignment notches accurately.
The brim requires special attention because it needs a total of four fabric cutouts and two interfacing cutouts. Cut two brim pieces from the main exterior cloth, two from the inner lining cloth, and two from your fusible interfacing. The extra layers in the brim are necessary to create the sturdy, sun-blocking shade extension that makes this accessory so practical and recognizable.
After completing the fabric cuts, it is time to apply the fusible interfacing to the wrong side of your exterior brim pieces. Place the textured, glue-coated side of the interfacing against the back of the fabric, covering it with a damp pressing cloth to protect the fibers. Press firmly with a hot iron without sliding it around, holding the heat for about ten to fifteen seconds per section to activate the adhesive.
Allow the fused brim pieces to cool completely on your flat workspace before moving or handling them. This cooling period sets the bond permanently and prevents the interfacing from bubbling or peeling away during the intensive sewing stages. Double-check that all your alignment notches, center marks, and seam allowance guidelines are clearly marked on every single piece before moving to your machine.
3. Assembling the Crown and Side Walls with Precision Seams
Now that your pieces are perfectly prepped, it is time to begin the actual construction at your sewing station. Take the two exterior side wall pieces, place them right sides together, and align the short vertical edges precisely. Pin or clip these edges securely, then sew down both short sides using a standard half-inch seam allowance to create a continuous fabric loop.
To reduce bulk and ensure a professional finish, press the vertical side wall seams open using a hot steam iron. Repeat this identical process for the two lining side wall pieces, creating a matching inner fabric loop for the interior. This builds the foundational structure of the hat body, which will connect the flat top circle to the flared lower brim.
Next, take your exterior top circle piece and pin it to the upper edge of your exterior side wall loop, matching the right sides together. Use your pre-marked alignment notches to distribute the fullness evenly around the circle, pinning frequently to prevent any bunching or shifting. Because you are sewing a straight edge to a circular edge, take your time during this critical pinning phase.
Slowly stitch the top circle to the side wall loop, maintaining a consistent seam allowance and rotating the fabric smoothly under the presser foot. Keep your fingers close to the needle area, gently smoothing out the bottom fabric layer to avoid catching any accidental pleats or wrinkles. If you encounter a tight curve, leave the needle down, lift the presser foot, pivot slightly, and resume sewing.
Once the circle is attached, use pinking shears or sharp embroidery scissors to clip small V-shaped notches into the seam allowance all around the curve. Clipping relaxes the fabric tension, allowing the circular top seam to lay perfectly flat and crisp when turned right side out. Press the entire seam allowance downward toward the side walls of the hat using your iron.
Follow the exact same steps to assemble the lining top circle and lining side wall loop, but leave a three-inch unsewn gap in one of the vertical side seams. This open gap is absolutely essential because it acts as the magic window used to turn the fully assembled hat right side out later on. Set the completed exterior crown and lining crown aside while we focus on the brim.
4. Stitching the Brim and Mastering the Ultimate Final Assembly
To construct the brim, place the two interfacing-backed exterior brim pieces right sides together and sew the short ends to form a large, flat ring. Do the exact same thing with the two lining brim pieces, pressing all the resulting vertical seams wide open to minimize bulk. You now have two distinct fabric rings that will form the top and bottom of your protective sun brim.
Place the exterior brim ring and the lining brim ring right sides together, matching the outer circular edges and the side seams perfectly. Pin around the entire perimeter, then sew the outer edge together using your designated precise seam allowance. Trim the seam allowance down slightly, clip the curves, and press the ring open before turning it right side out.
Roll the stitched outer edge between your fingers to ensure the seam sits perfectly on the border, then press it crisp and flat with your iron. To achieve that classic, high-quality streetwear look, stitch several concentric rows of topstitching around the entire brim, spaced about a quarter-inch apart. These parallel lines look amazing and provide the structural rigidity needed to keep the brim from sagging over your face.
Now, pin the inner circular edge of your completed brim to the bottom edge of the assembled exterior crown, matching right sides together. Align the side seams perfectly, pin generously around the circle, and sew the brim to the crown using a sturdy, secure stitch. Press the seam allowance upward toward the main body of the hat to keep the transition smooth.
Take the entire exterior assembly and insert it inside the lining assembly, ensuring that the right sides of the main fabric and lining fabric are facing each other. Align the brim seams, pin the raw inner circular edges together, and sew around the entire circle, joining the lining to the brim-crown connection. Take your time here, as you are sewing through multiple layers of fabric and interfacing.
Reach your hand through the three-inch opening you left in the lining side seam, grab the exterior fabric, and gently pull the entire hat through. The project will magically flip right side out, revealing your beautiful, nearly finished bucket hat. Tuck the raw edges of the lining gap inward, topstitch it closed close to the edge, push the lining inside the hat, and give the entire piece a glorious final press.
Frequently Asked Questions (FAQ)
What is the best fabric for a beginner learning how to make bucket hat – tutorial styles?
For beginners, medium-weight 100% cotton canvas, quilting cotton, or light denim are the absolute best options. These fabrics do not slip or stretch out of shape while you are cutting or sewing, making them incredibly easy to control under the presser foot. Avoid stretchy knits, silk, or slippery synthetic fabrics until you are more comfortable with curved sewing techniques.
Do I absolutely need to use fusible interfacing for this project?
Yes, utilizing a premium fusible interfacing is highly recommended if you want your headwear to have a classic, professional shape. Without interfacing, the brim will lack structure and droop downwards into your eyes, ruining the signature aesthetic. Interfacing adds the perfect amount of body and stiffness while still allowing the accessory to be folded up and packed into a bag.
How do I adjust the pattern to fit a child or a larger adult head size?
To adjust the size, simply measure the recipient’s head circumference and add one inch for ease and seam allowances. Divide this new measurement by $2\pi$ (roughly 6.28) to find the exact radius needed for your top crown circle template. Adjust the length of your side walls and brim pieces to match this updated circumference measurement before cutting your fabric.
Can I make a reversible bucket hat using this exact same method?
Absolutely! This design is inherently perfect for creating a fully reversible accessory. To make it reversible, simply choose two contrasting exterior-quality fabrics instead of a plain utility lining material. When finishing the project, instead of topstitching the lining gap coarsely, use an invisible ladder stitch by hand to close the opening seamlessly so both sides look flawless.
What sewing machine needle size should I use for heavy denim or canvas?
When working with heavy canvas, corduroy, or upcycled denim, you should switch to a heavy-duty needle such as a size 90/14 or 100/16. Standard universal needles are too thin and will likely bend, break, or cause skipped stitches when trying to pierce through multiple dense layers of fabric and interfacing simultaneously.
Conclusion
In this how to make bucket hat – tutorial, we have explored every essential phase of creating a custom, fashion-forward accessory from scratch.
From selecting durable fabrics like canvas and denim to applying structural interfacing, cutting pieces on the grain, and assembling curves, you now possess the complete blueprint for handmade headwear success. This project showcases how simple sewing techniques can yield highly professional, stylish, and sustainable wardrobe pieces.