The Jewel Heart Quilt – Pattern is a stunning blend of elegance and sentimentality that has captured the hearts of modern quilters around the world.
Whether you’re creating a quilt for a special occasion, a heartfelt gift, or simply looking to express your artistic side through fabric and thread, this pattern delivers both beauty and purpose.
With its vibrant “jewel” tones and heart-shaped blocks, it’s as meaningful as it is eye-catching.
One of the unique aspects of the Jewel Heart Quilt – Pattern is its versatility. From bold gemstone-colored fabrics to soft pastel palettes, the design adapts beautifully to a wide range of styles and color schemes. This quilt pattern is especially popular for anniversaries, Valentine’s Day gifts, or as a symbol of love and unity in memory quilts. It’s a perfect project for anyone who wants to pour a little more love into their craft.
In this article, we’ll walk you through how to make your own Jewel Heart Quilt – Pattern, step by step. We’ll explore material selection, layout planning, piecing techniques, and finishing tips. Whether you’re a seasoned quilter or trying your hand at quilting for the first time, this guide offers both instruction and inspiration.
1. Choosing the Right Materials for the Jewel Heart Quilt – Pattern
Before you begin your Jewel Heart Quilt – Pattern, it’s important to choose the right materials. This includes not only your fabric but also your tools, color palette, and design elements. Preparation will make your quilting journey smoother and more enjoyable.
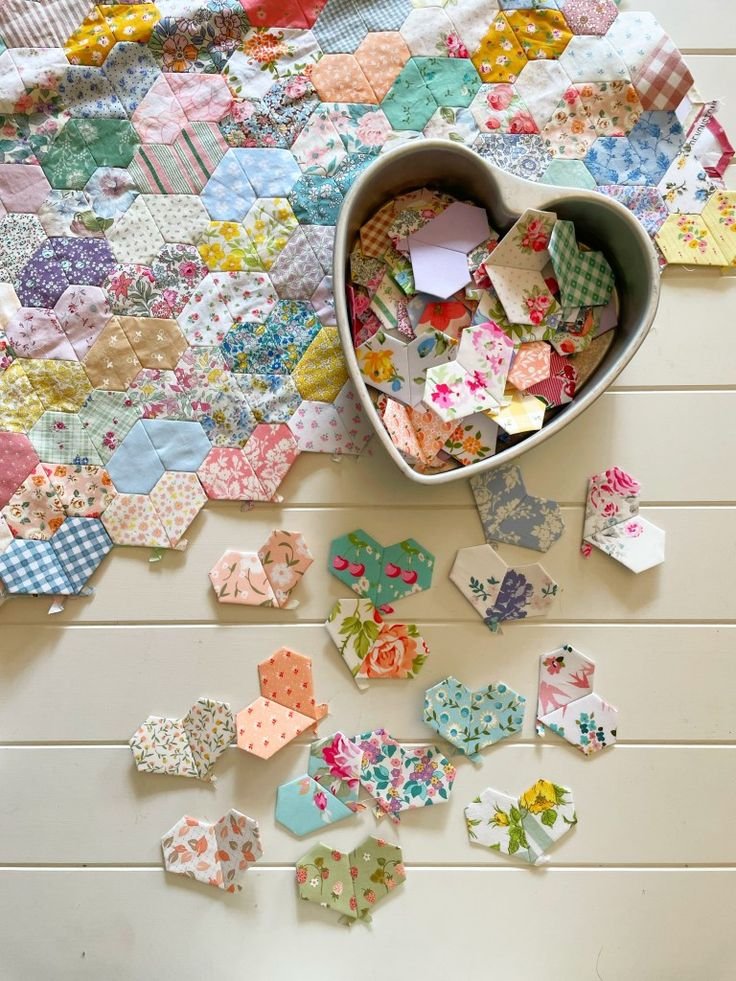
Start by selecting your fabrics. The term “jewel” in the Jewel Heart Quilt – Pattern refers to rich, saturated tones that resemble gems—think sapphire blue, ruby red, emerald green, and amethyst purple. These colors create a dazzling effect, especially when arranged in contrast with neutral backgrounds like white, grey, or black.
Cotton quilting fabric is the best choice for this pattern. It is easy to cut, sew, and press, and it holds its shape well throughout the quilting process. If you’re feeling adventurous, you can also experiment with batiks or shot cottons to add texture and depth.
For the heart blocks themselves, choose a variety of coordinating fabrics to give the quilt personality. Using different tones of the same color can create a subtle ombre effect, while bold contrasts make each heart stand out on its own.
Gather your basic tools: a rotary cutter, self-healing mat, quilting ruler, sewing machine, iron, and pins. If you plan to do free-motion quilting or decorative stitching, make sure your machine is ready with the appropriate foot and thread.
Pre-washing your fabrics is optional, but it can prevent shrinkage and color bleeding later. If you’re using dark jewel tones, this step is especially recommended to avoid any dye transfer when the quilt is washed.
2. Cutting and Assembling the Heart Blocks
Now that your materials are ready, it’s time to begin cutting and assembling the heart blocks—the heart of the Jewel Heart Quilt – Pattern, both literally and figuratively. This part requires careful attention to shape and alignment but is very manageable, even for beginners.
Start by cutting your fabric into squares and rectangles, following the specific measurements provided in your chosen Jewel Heart Quilt – Pattern. Most heart blocks are made using a combination of half-square triangles (HSTs) and rectangles to form the top curve and point of the heart.
Use a consistent seam allowance (typically ¼ inch) and press your seams open or to one side depending on the design. Consistency in your seam allowance will keep your blocks uniform, which is important when assembling the rows later.
Construct one heart block first as a test. This allows you to adjust your technique if necessary before cutting and sewing the remaining blocks. If you’re happy with the size and look, go ahead and chain-piece the others to save time.
Arrange your finished heart blocks on a design wall or flat surface. Play around with the placement to create visual balance and symmetry. Alternate light and dark colors, or arrange hearts by color families to form a rainbow or gradient effect.
Once you’re satisfied with the layout, sew the blocks into rows. Then, sew the rows together to form the quilt top. Always double-check alignment and press each seam as you go to keep everything flat and straight.
You can choose to add sashing (strips between the blocks) or borders to frame your design. This is optional, but it often enhances the overall composition and gives the quilt a more polished look.
3. Quilting Techniques and Stitching Ideas
With your quilt top assembled, the next phase of the Jewel Heart Quilt – Pattern journey is quilting—the process of stitching all three layers together: top, batting, and backing. This is where you can add dimension, texture, and personal flair.
First, make a quilt sandwich. Lay your backing fabric down (right side facing down), then place the batting, and finally your quilt top (right side facing up). Smooth each layer carefully to avoid wrinkles, then baste using safety pins, spray adhesive, or large hand stitches.
The stitching you choose can enhance the look of your heart shapes. Simple straight-line quilting works well for a clean and modern finish. Stitching around the edges of the hearts (stitch-in-the-ditch) highlights their shape and adds definition.
Free-motion quilting offers endless possibilities for adding artistic elements. You can quilt swirls, loops, feathers, or even echo the heart shapes with lines inside or around them. Metallic or variegated threads can add sparkle and depth.
If you’re a beginner, don’t worry—straight-line quilting using a walking foot is a great option. Try diagonal lines across the quilt for a diamond pattern that complements the jewel theme beautifully.
Choose a thread color that either blends with your background or contrasts for added effect. Light threads on dark fabrics stand out more, while dark threads on light fabrics give a shadow-like outline.
Once quilting is complete, trim the edges of your quilt to make them even. This prepares your project for the final step—binding, which seals the edges and gives your quilt a finished appearance.
4. Finishing Touches and Display Ideas
You’ve come a long way in creating your Jewel Heart Quilt – Pattern, and now it’s time to finish and display your masterpiece. This final stage is about sealing in your hard work and presenting it proudly.
Start with the binding. Cut strips of fabric (usually 2.5 inches wide), sew them end-to-end, and press into a long strip. Fold in half lengthwise, press again, and sew it around the quilt’s edge. Miter the corners for a professional finish, then hand-sew or machine-stitch the binding to the back.
Consider adding a quilt label to commemorate your work. Include your name, the date, and perhaps a dedication or quote. This is especially meaningful if the quilt is a gift or an heirloom-in-the-making.
For hanging, you can sew a sleeve to the back of the quilt, allowing it to be displayed on a wall. This transforms your quilt into a piece of art and keeps it clean and safe from wear.
You can also use your Jewel Heart Quilt – Pattern as a throw on a couch, a bed topper, or a picnic blanket. It’s both functional and beautiful, offering comfort and charm wherever it’s used.
Take time to photograph your finished quilt. Share it with the quilting community online or in person. Seeing your quilt appreciated by others can be very rewarding and motivating for future projects.
Lastly, store your quilt carefully. If it’s not in use, fold it loosely and keep it in a breathable cotton bag. Avoid plastic containers, which can trap moisture and damage the fabric over time.
FAQ – Jewel Heart Quilt – Pattern
Q: Is the Jewel Heart Quilt – Pattern beginner-friendly?
Yes! It uses simple techniques like half-square triangles and basic block assembly. It’s perfect for practicing precision and layout planning.
Q: What size quilt can I make with this pattern?
The size depends on how many heart blocks you include. A small lap quilt might use 12 blocks, while a queen-sized version could use 30 or more.
Q: Can I use scraps or fat quarters for this quilt?
Absolutely. The heart blocks are great for using up smaller pieces of fabric, especially if you’re aiming for a scrappy or colorful look.
Q: What quilting design works best with this pattern?
Both straight-line and free-motion quilting work well. Stitch-in-the-ditch and echo quilting are popular choices to emphasize the heart shapes.
Q: Do I need sashing or borders?
Sashing and borders are optional. They can help define each block and frame the quilt nicely, but the quilt also looks great without them.
Q: How do I make the hearts symmetrical?
Careful cutting, consistent seam allowances, and pressing make a big difference. Consider making a test block first to fine-tune your technique.
Conclusion
The Jewel Heart Quilt – Pattern is a beautiful fusion of emotion and artistry, allowing you to create something truly meaningful with fabric and thread. From selecting jewel-toned fabrics to piecing and finishing each heart block, this quilt is both a joy to make and a heartfelt gift to give.
We’ve walked through every stage of the process—from material preparation to final stitches—so you can approach this project with confidence and creativity. Whether you make one as a gift or to keep for yourself, it’s a project that will
be treasured for years.
We’d love to hear your thoughts. Have you tried the Jewel Heart Quilt – Pattern? Do you have tips, stories, or variations to share? Please leave a sincere opinion and suggestions in the comments. Your feedback helps build a stronger, more creative quilting community. Happy quilting!