A Patchwork Placemat – Pattern is a delightful way to blend creativity and practicality in your home décor.
This project allows you to experiment with color, texture, and fabric scraps while producing something that’s both beautiful and functional.
Whether you’re an experienced quilter or a beginner looking to learn, making patchwork placemats is a rewarding and achievable task.
The great thing about a Patchwork Placemat – Pattern is its flexibility. You can follow a traditional layout with uniform blocks or mix it up with asymmetrical pieces for a modern look. These placemats not only add charm to your dining table but also make thoughtful, handmade gifts. Because of their manageable size, they’re perfect for practicing quilting techniques without committing to a large-scale project.
In this guide, we’ll take you step-by-step through everything you need to know to create your own patchwork placemats—from choosing the right fabrics to assembly, quilting, and finishing. We’ll also include helpful tips for beginners, common mistakes to avoid, and ideas for customizing your placemats to suit your personal style. Let’s dive into the art of the Patchwork Placemat – Pattern and start stitching your way to a more colorful table setting.
1. Choosing Fabrics and Preparing Materials
The first step in creating a beautiful Patchwork Placemat – Pattern is selecting your fabric. Cotton quilting fabric is the most popular choice due to its durability, ease of use, and wide range of patterns and colors. Using leftover fabric from other projects is a great way to reduce waste and add sentimental value to your placemats.
When choosing your color palette, consider where the placemats will be used. For a rustic farmhouse look, go with earthy tones and floral prints. For a more modern aesthetic, try bold solids or geometric prints. Mixing complementary colors can create visual harmony, while contrasting shades add a vibrant pop to your table.
Make sure to wash and iron all fabrics before cutting. This helps prevent shrinkage and ensures your pieces lie flat and are easier to sew. Ironing also helps reveal the true texture and color of the fabric, making it easier to pair fabrics together.
In addition to fabric, you’ll need a few basic tools: rotary cutter, self-healing cutting mat, quilting ruler, sewing machine (or needle and thread for hand stitching), batting, and backing fabric. These tools will help you achieve clean cuts and accurate seams, essential for any successful patchwork project.
Batting gives your placemat its structure and softness. Choose a lightweight batting that doesn’t add too much bulk. For backing fabric, use something that complements your front design—solid colors or simple prints usually work best to balance out a busy patchwork top.
Finally, gather any decorative elements you might want to include, such as embroidery, lace trim, or applique. These finishing touches can elevate your Patchwork Placemat – Pattern from simple to stunning and reflect your unique style.
2. Cutting and Assembling the Patchwork Pieces
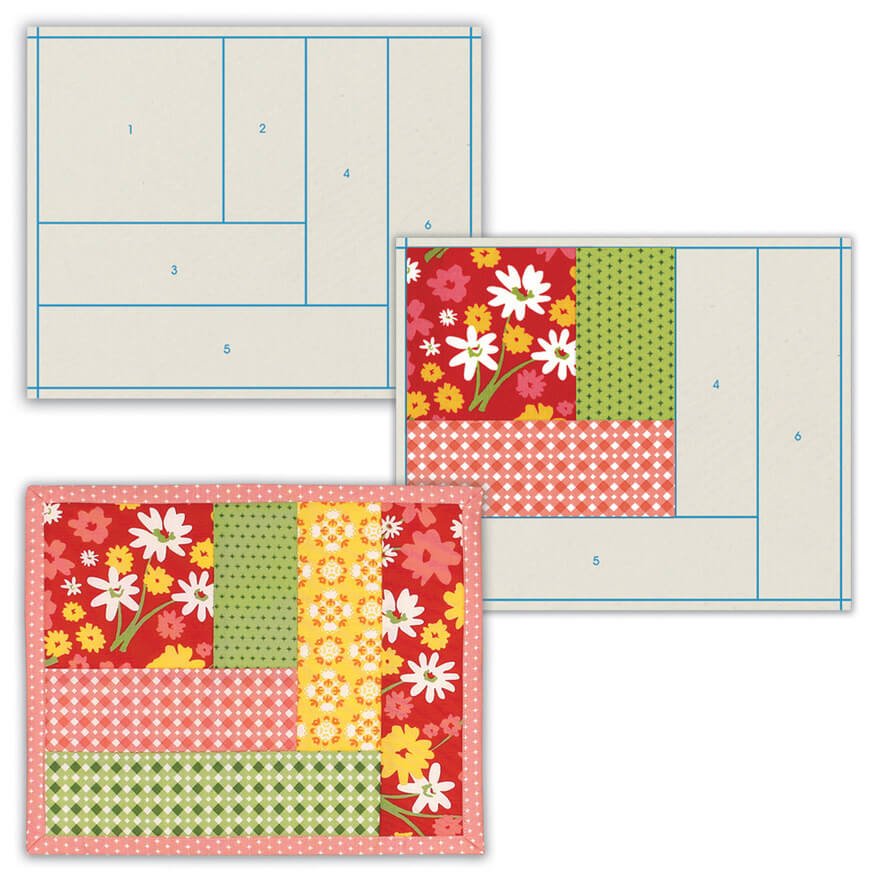
Once you’ve chosen your fabrics, it’s time to cut them into the desired shapes for your Patchwork Placemat – Pattern. Most placemats are rectangular, typically around 12” x 18”, but you can adjust the size to suit your table or preferences. Start by deciding on the block layout—standard options include squares, rectangles, or triangles.
Use your rotary cutter and quilting ruler to cut precise shapes. Keep your hands steady and measure twice before cutting. Accurate cuts are crucial to achieving a professional look and ensuring that all pieces fit together neatly when sewn.
Lay out your fabric pieces on a flat surface or design board to determine the placement. Move them around until you find a combination you like. This step lets you play with color and pattern distribution, helping to create balance and visual interest in your design.
Begin sewing the pieces together using a ¼-inch seam allowance. It’s helpful to sew in rows first, then connect the rows together. Press the seams open or to one side after each stitch for a flatter, more polished finish. Take your time—accuracy matters more than speed in patchwork.
As your top layer comes together, compare its dimensions with your backing and batting to ensure everything matches. If the top is slightly off, trim it carefully to maintain straight edges. This will help later when attaching the layers together and binding the edges.
At this stage, you can also add any decorative touches like embroidery or applique, especially if you want your design to feature specific motifs like flowers, fruits, or abstract designs. These embellishments add a personal flair to your Patchwork Placemat – Pattern and make each piece unique.
3. Quilting and Binding Your Placemat
Now it’s time to assemble the layers and quilt your Patchwork Placemat – Pattern. Layer the backing fabric (right side down), batting, and patchwork top (right side up). Smooth out any wrinkles, making sure all layers are evenly aligned.
Baste the layers together using safety pins, basting spray, or long running stitches. This will hold everything in place while you quilt and prevent shifting that could lead to puckered or uneven stitching. Don’t skip this step—it’s essential for a clean, finished product.
You can quilt your placemat in a variety of ways. Straight-line quilting along the seams (known as “stitch in the ditch”) is a popular and beginner-friendly option. For a more dynamic look, try free-motion quilting with loops or swirls. Choose a quilting method that suits your design and skill level.
Use a thread color that either blends in or contrasts with your fabric, depending on your desired effect. Be sure to test your tension and stitch length on a fabric scrap first. Keep your stitches even and take your time, especially around corners and edges.
Once quilting is complete, trim the edges so all layers are even. Prepare your binding—this can be purchased bias tape or fabric strips folded in half lengthwise. Attach the binding by sewing it to the front of the placemat, folding it over the raw edges, and hand-stitching or machine-stitching it in place on the back.
Binding is not only functional but also decorative, adding the final frame to your Patchwork Placemat – Pattern. You can even use contrasting fabric to create a bold outline or keep it subtle with a matching print. Either way, your placemat is now nearly ready to use or gift.
4. Caring For and Customizing Your Patchwork Placemats
Once your placemats are finished, it’s important to know how to care for them properly to maintain their beauty. Since they’ll be used around food and drinks, machine washability is key. Use cold water on a gentle cycle and mild detergent to keep colors from fading.
To dry, either lay flat or tumble dry on low. Avoid high heat, as it can shrink the fabric or damage decorative elements. If needed, a light press with a warm iron will keep your placemats looking crisp and fresh between uses.
If you’re making these as gifts or selling them at craft fairs, consider adding a custom label to the back. Include your name, the date, or a special message to personalize your Patchwork Placemat – Pattern. People love knowing the story behind handmade items.
These placemats also offer a fantastic opportunity to get creative with seasonal themes. Try autumnal fabrics with leaf prints for fall, snowflakes for winter, florals for spring, or bright tropical colors for summer. You can even make a holiday-themed set for each special occasion.
You may want to sew matching napkins or table runners to go with your placemats. This adds a cohesive and coordinated look to your table setup. It’s a great way to make the most of your fabric and showcase your patchwork skills.
As your confidence grows, don’t be afraid to try new patterns and layouts. Mix large and small pieces, try hexagons instead of squares, or incorporate embroidery or lace. The beauty of patchwork is its endless potential for innovation and personal expression.
Frequently Asked Questions (FAQ)
Q1: How big should a patchwork placemat be?
A standard size is around 12 x 18 inches, but you can adjust this based on your table size and preferences.
Q2: What kind of batting is best for placemats?
Lightweight cotton or polyester batting works best. It provides structure without making the placemat too bulky.
Q3: Can I make patchwork placemats by hand?
Yes! While using a sewing machine is faster, you can absolutely hand-stitch your Patchwork Placemat – Pattern for a more traditional and mindful crafting experience.
Q4: Do I need to use a binding on the edges?
Binding helps protect the edges and gives your placemat a finished look. While optional, it’s highly recommended for durability.
Q5: How do I keep my patchwork pieces aligned?
Use a ¼-inch seam allowance, press your seams carefully, and trim each block to size before assembly to keep everything aligned.
Q6: Can I sell patchwork placemats I make?
Yes, handmade placemats are popular at craft markets and online. Just make sure your pattern allows for commercial use if it’s not original.
Conclusion
Creating a Patchwork Placemat – Pattern is a fun, fulfilling way to explore the world of quilting while making something useful and beautiful. From selecting your fabric and cutting pieces to quilting and binding, each step offers an opportunity to learn and express your creativity. With endless options for customization, you can create placemats that reflect your style, suit the season, or make the perfect handmade gift.
We hope this guide has inspired you to start your own patchwork journey. If you’ve tried this project or have any tips to share, please leave a sincere opinion or suggestion in the comments. Your input helps others learn and grow, just like
you!